We've all been there: the assignment deadline is in 12 hours. You've spent days writing robust database queries, setting up routes, and debugging logic, but your frontend looks like it was built in 1995. You don't have the time to read color theory books or spend hours tweaking hex codes in Figma.
When presenting a project to your professors, **first impressions matter**. A clean, modern UI with a cohesive color scheme can instantly make your application look 10x more professional, helping you secure that top grade. Here is how you can use TailwindThemeMaker to set up a production-ready theme in less than 2 minutes.
1. The 60/30/10 Rule for Quick Layouts
Before styling your components, remember the golden rule of UI design: the 60/30/10 rule. Keep your backgrounds simple (60% neutral), use a slightly different shade for containers and cards (30%), and reserve your vibrant brand color (10%) strictly for action buttons and links. This ensures your project looks clean rather than chaotic.
2. Generating Your Theme Scales Instantly
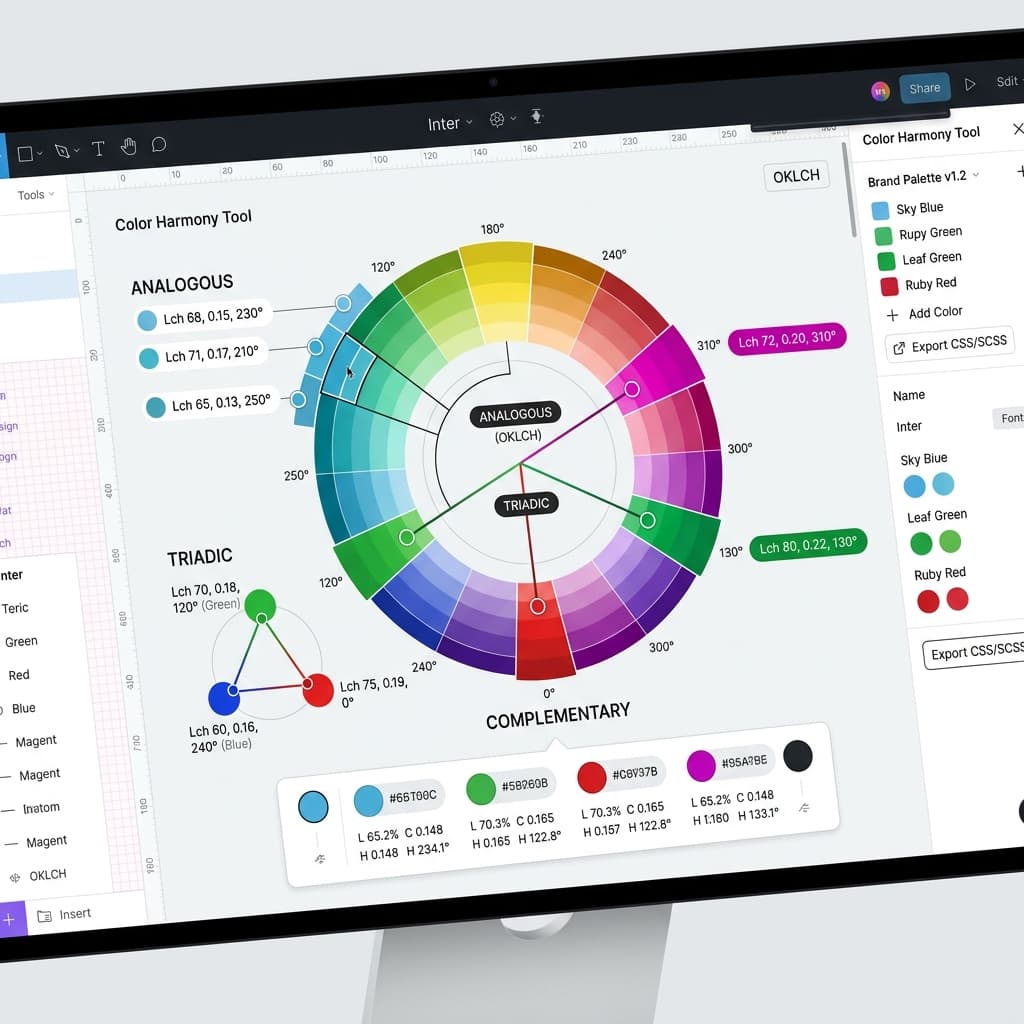
Instead of manually picking primary, secondary, text, and border colors, let our generator handle the math. Click the Generate button (or press the spacebar) to instantly get a mathematically balanced color palette. You can choose different design "vibes" (like minimalist, high-contrast, or vibrant) to match the category of your project (SaaS, blog, portfolio, etc.).
3. Copy & Paste the Code
Once you are happy with the preview, scroll down to the **Real-Time Theme Code** section or click the **Export CSS** button in the sidebar. Select your target format (Tailwind v4 or CSS Variables) and copy the generated CSS. Simply paste it directly into your stylesheet:
/* globals.css or index.css */
@import "tailwindcss";

@theme {
  /* Paste your generated variables here */
  --color-brand-default: oklch(62% 0.18 240);
  --color-brand-dark: oklch(50% 0.18 240);
  --color-brand-foreground: oklch(98% 0.01 240);
}
4. Styling Your UI Elements
Now, you can immediately start using your custom colors as standard Tailwind utilities in your JSX or HTML tags:
<button class="bg-brand text-brand-foreground hover:bg-brand-dark px-4 py-2 rounded-lg font-bold transition">
  Submit Assignment
</button>
Student Tip
"Don't spend hours trying to manually build light and dark modes. TailwindThemeMaker generates both scales together, so you get responsive dark mode support for free without writing separate CSS rules."
Conclusion: Ship Faster, Grade Higher
College projects are about demonstrating core engineering and more. Don't let a poorly designed UI overshadow your hard work. Spend 2 minutes generating a professional Tailwind v4 design system, ship your project on time, and wow your professors!